How to Create Your Own OpenAI API Key
If you’re planning to use OpenAI’s models in your own application, the first thing you’ll encounter is the OpenAI API key.
Before generating one, it helps to understand what OpenAI actually provides, how APIs fit into real-world systems, and what capabilities an API key unlocks once it’s active. This context makes the rest of the workflow, authentication, requests, model selection, and configuration, much easier to reason about.
If you already feel comfortable with these concepts, you can jump straight to the step-by-step tutorial on creating the API key. Otherwise, the next sections provide just enough background to understand what you’re enabling when you generate one.
What Is OpenAI?
OpenAI is an AI research and deployment company that builds general-purpose models capable of reasoning over text, code, images, audio, and structured data. These models are exposed in two primary ways:
- End-user applications, such as ChatGPT
- Developer APIs, which allow the same underlying models to be embedded into custom products and workflows
When you use ChatGPT, you are interacting with OpenAI’s models through a hosted interface. When you use the OpenAI API, you are interacting with those models programmatically, with full control over inputs, outputs, and behavior.
The OpenAI API is designed to expose AI capabilities as reusable building blocks rather than a single fixed application.
What Is an API, in Practical Terms?
An API (Application Programming Interface) is a standardized way for one software system to request functionality from another.
In practice, an API interaction usually looks like this:
- A client sends an HTTP request to a defined endpoint
- The request includes authentication credentials
- The request body contains structured input (often JSON)
- The server processes the request
- The server returns a structured response

APIs are already deeply embedded in modern software systems: payment platforms rely on APIs to process card transactions, mapping applications call APIs to retrieve routes and location data, and analytics tools use APIs to log events and track user behavior in real time.
The OpenAI API follows the same pattern. The difference is that instead of retrieving static data, you are invoking probabilistic AI models that generate or transform information.
The Role of the OpenAI API Key
An OpenAI API key is a secret credential that authenticates your requests to OpenAI’s servers.
It serves three core purposes:
- Authentication: Identifies the account making the request
- Authorization: Controls access to models and features
- Usage tracking and billing: Associates token usage with your account
Every API request must include this key. Without it, requests are rejected. Because API keys grant direct access to billable resources, they must be handled with the same care as passwords or cloud credentials.
With that context in place, the next step is to actually generate your API key.
Generating an OpenAI API Key
Step 1: Go to the OpenAI Platform
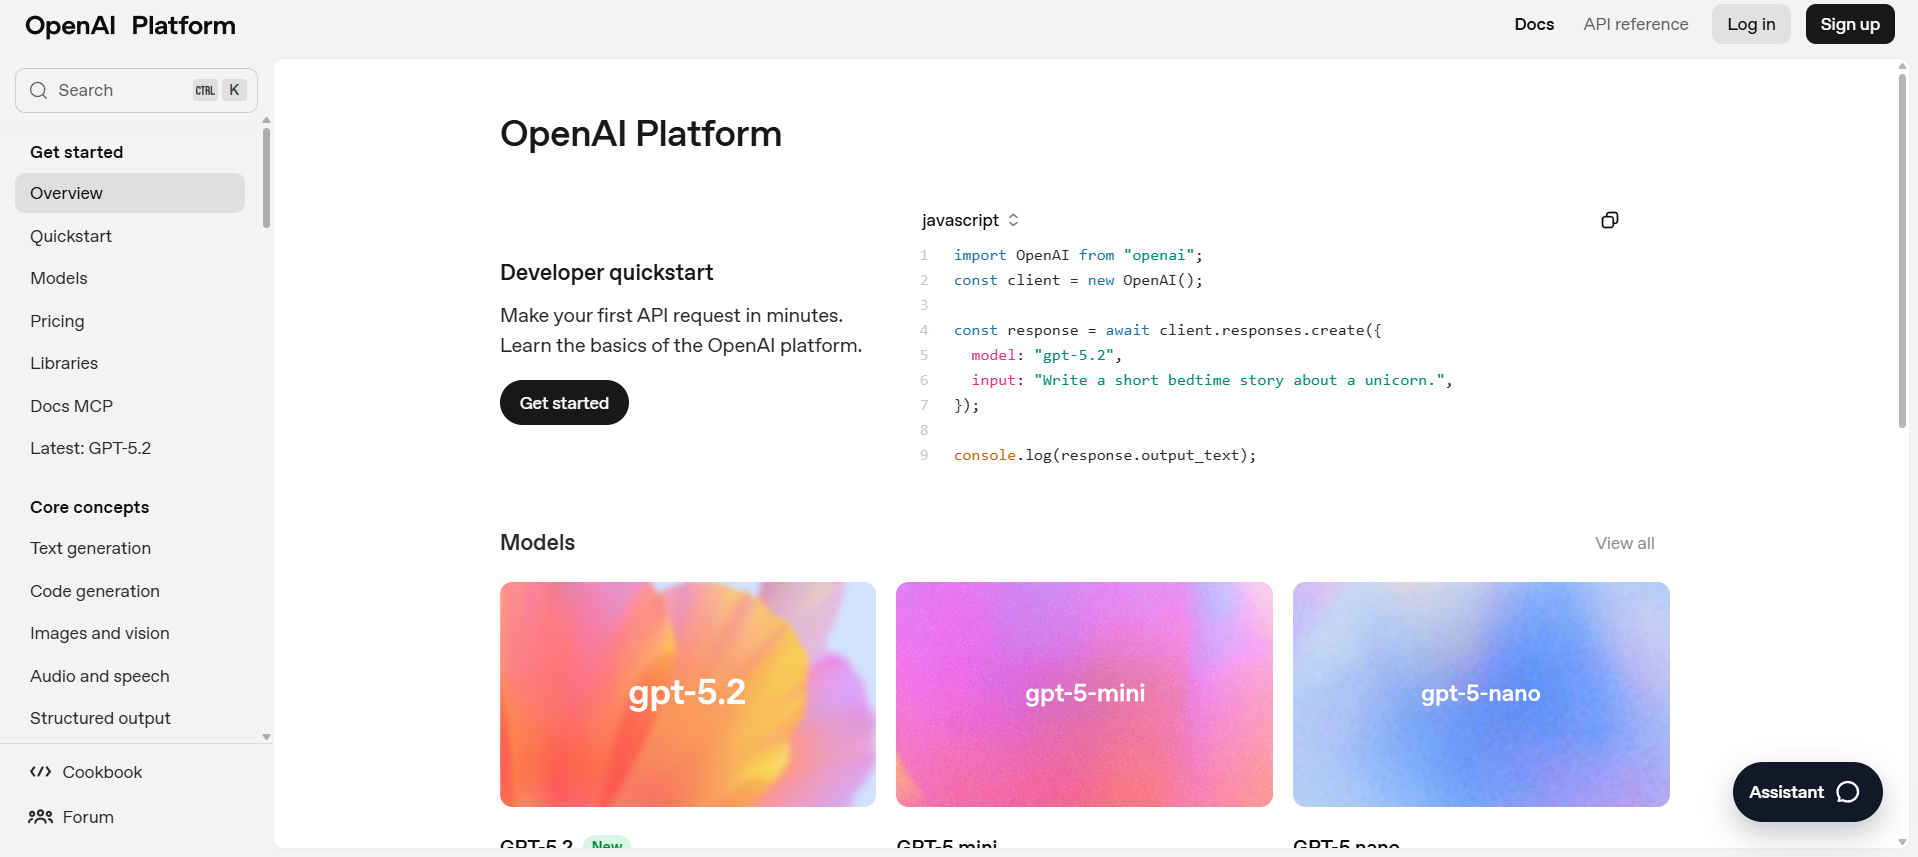
Start by navigating to the OpenAI Platform.
This is the central dashboard for managing projects, API keys, usage, and billing. All developer-related configuration happens here.
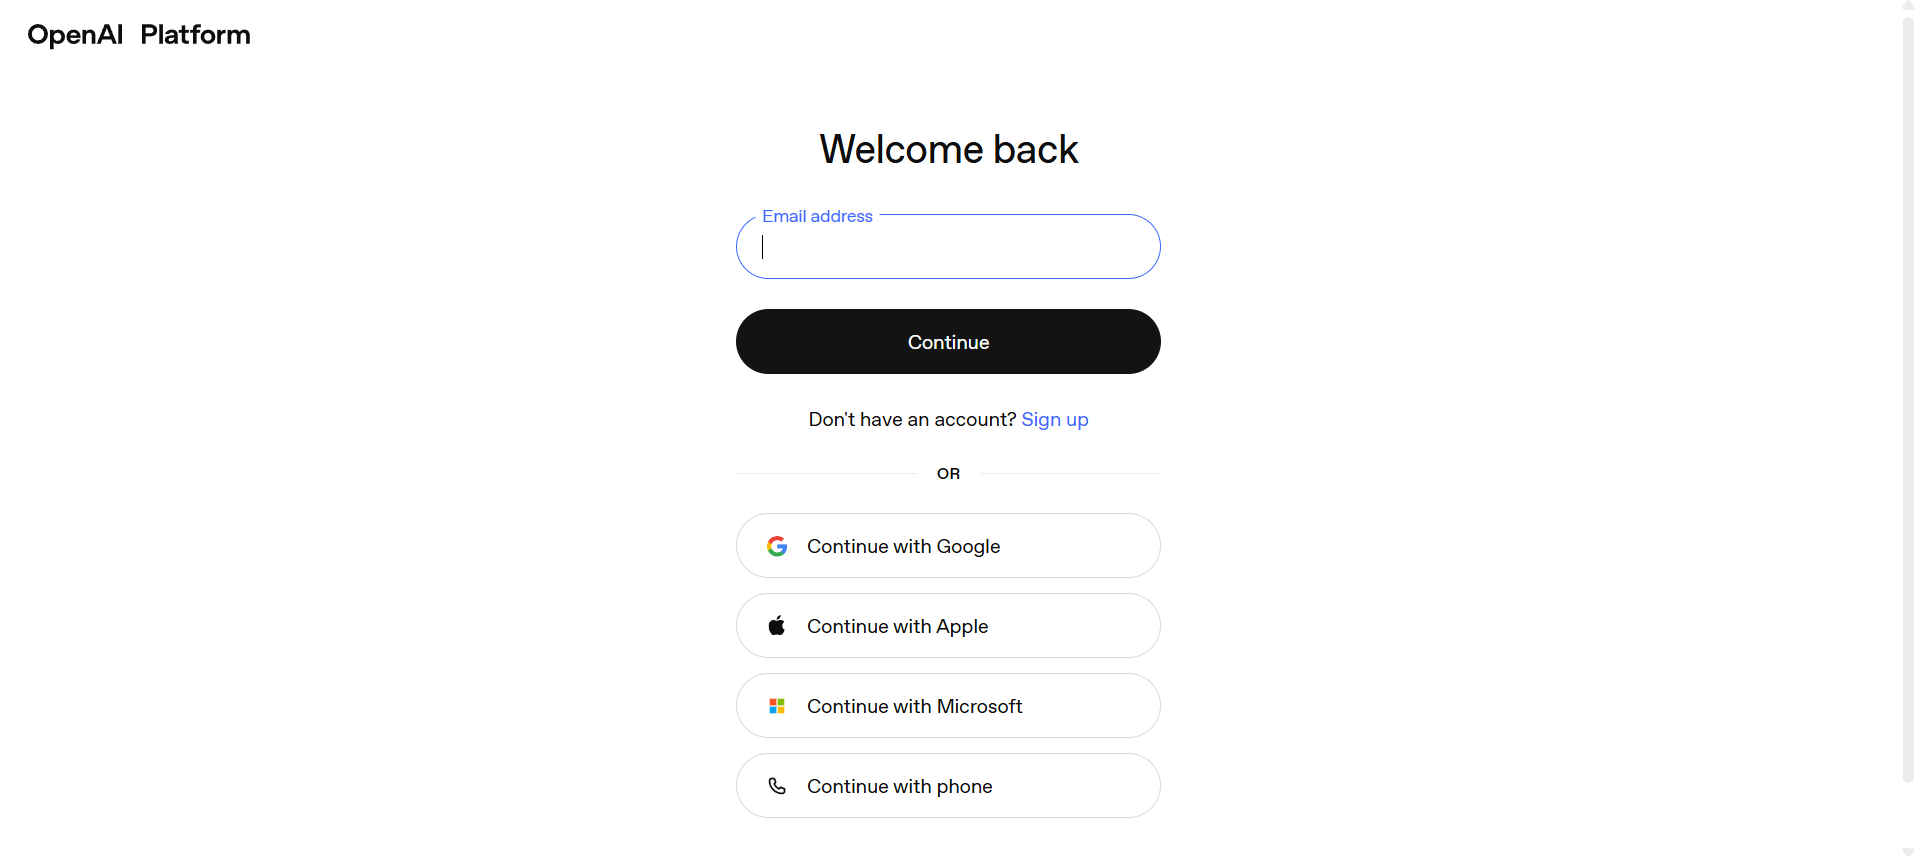
Step 2: Sign In
Sign in using your OpenAI account credentials. You can log in with an email/password combination or a supported single sign-on provider. If this is your first time accessing the platform, you may be asked to complete basic account setup before continuing.
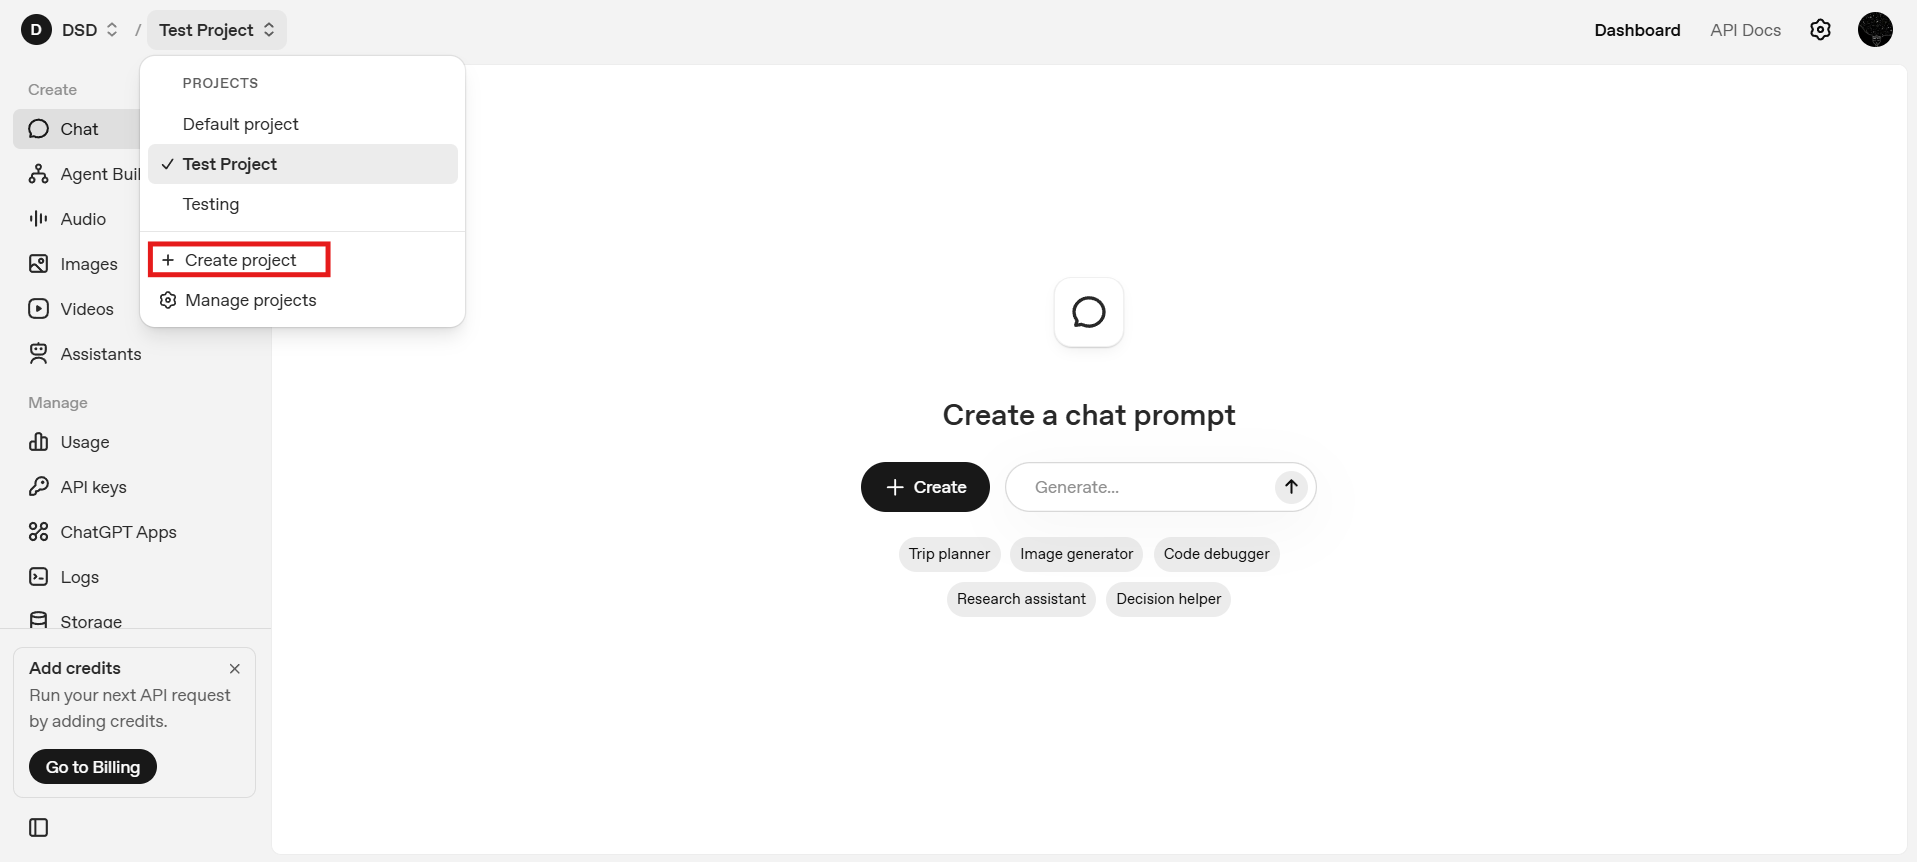
Step 3: Create or Select a Project
OpenAI organizes API usage around projects, where each project functions as a logical container for API keys, usage and billing, and permissions or access control. You may create a new Project by clicking on the Create Project button in the top left dropdown. Otherwise, you can continue with the default project.
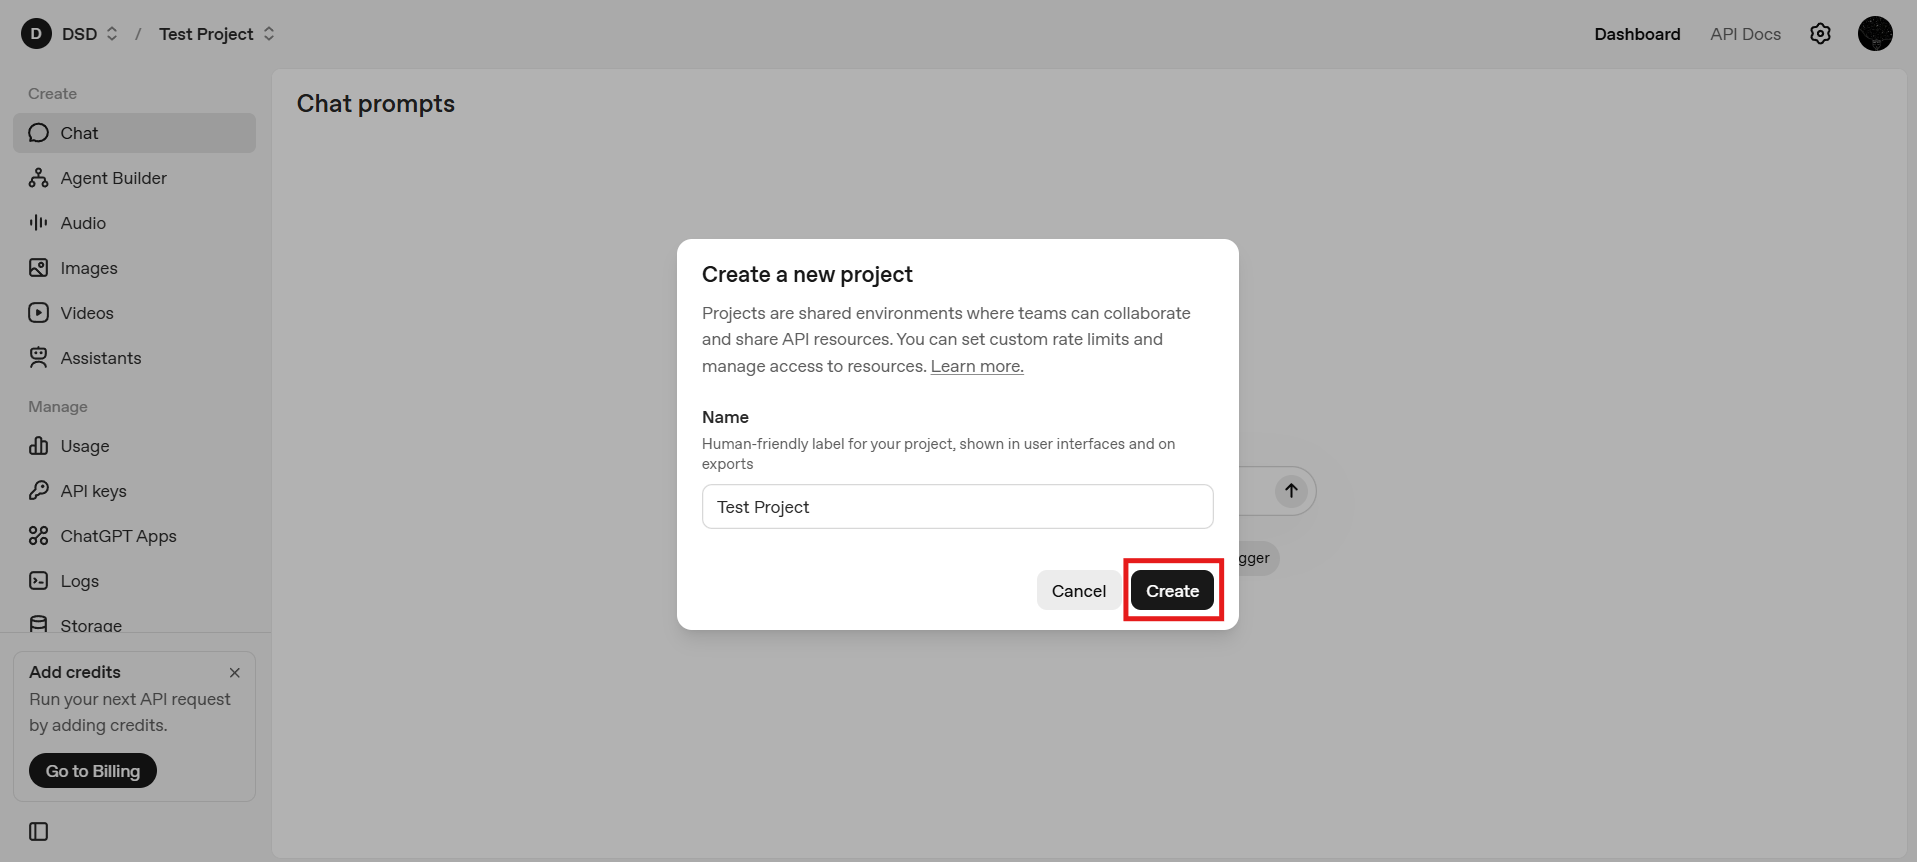
Projects are especially useful when you need to separate development and production usage, when multiple applications share the same OpenAI account, or when you are collaborating within a team or organization. By isolating resources, API keys, and usage within distinct projects, you gain clearer access control, better cost tracking, and a more structured way to manage environments at scale.
Step 4: Open the Dashboard
After selecting a project, you will land on the dashboard.
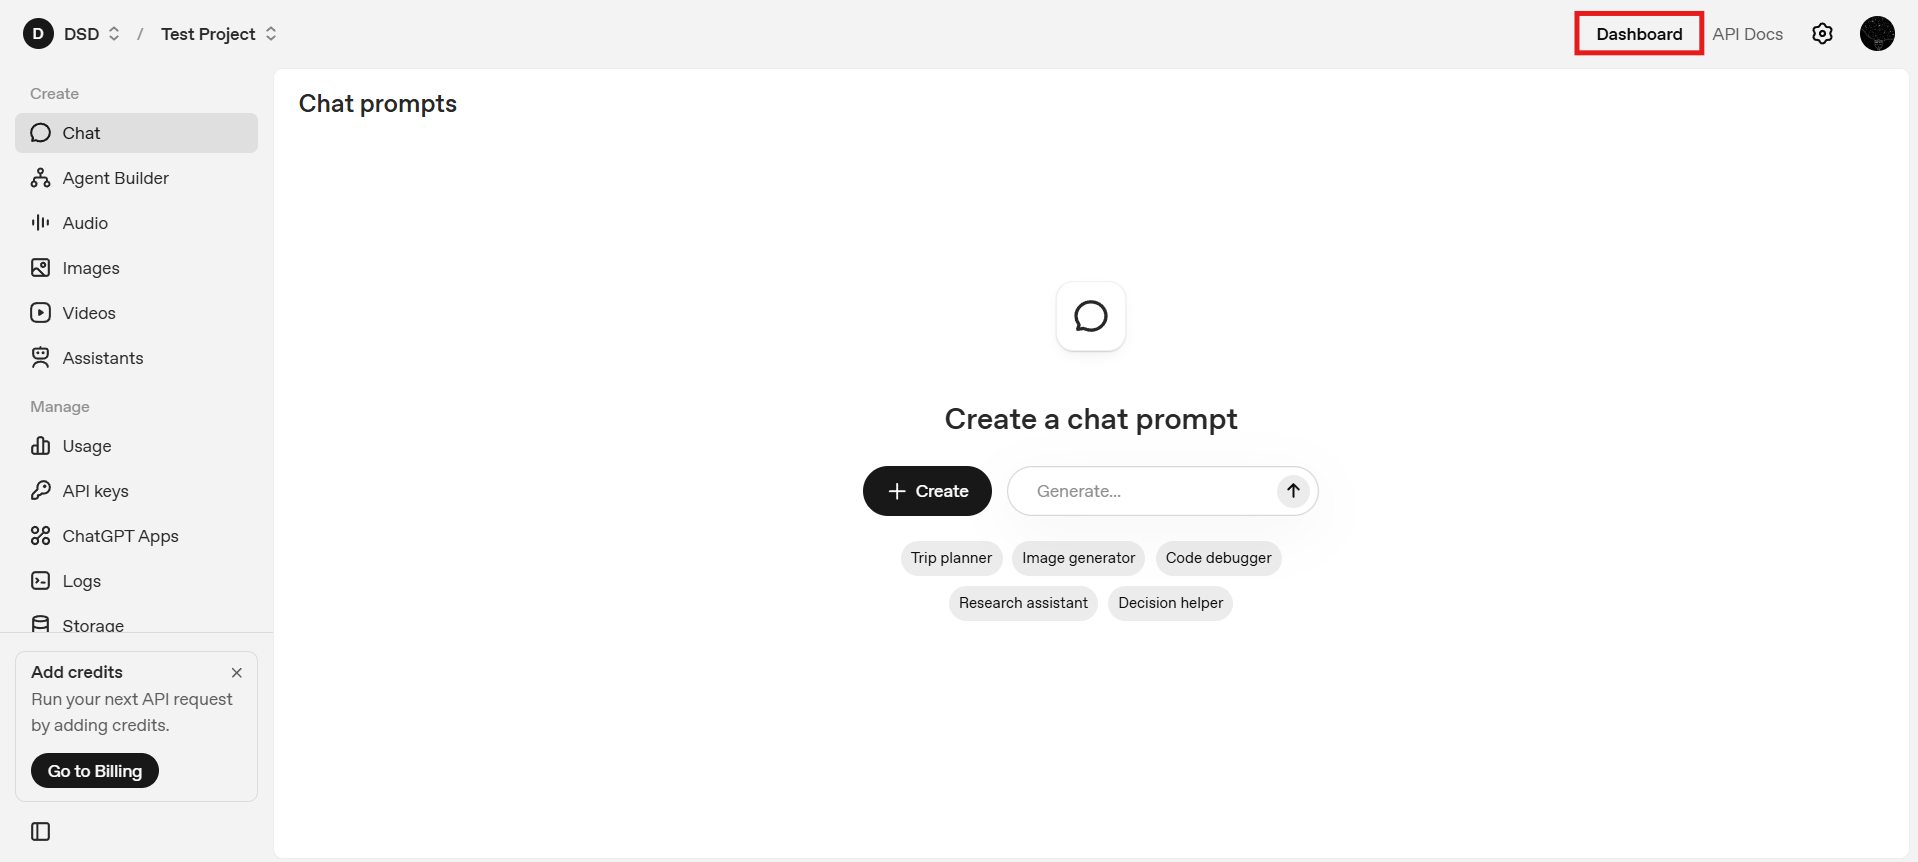
The dashboard provides a centralized overview of your API usage, including request volume and token consumption, while also offering quick access to essential settings and API key management, making it easier to monitor activity and control your environment from a single interface.
From here, you can navigate to key management.
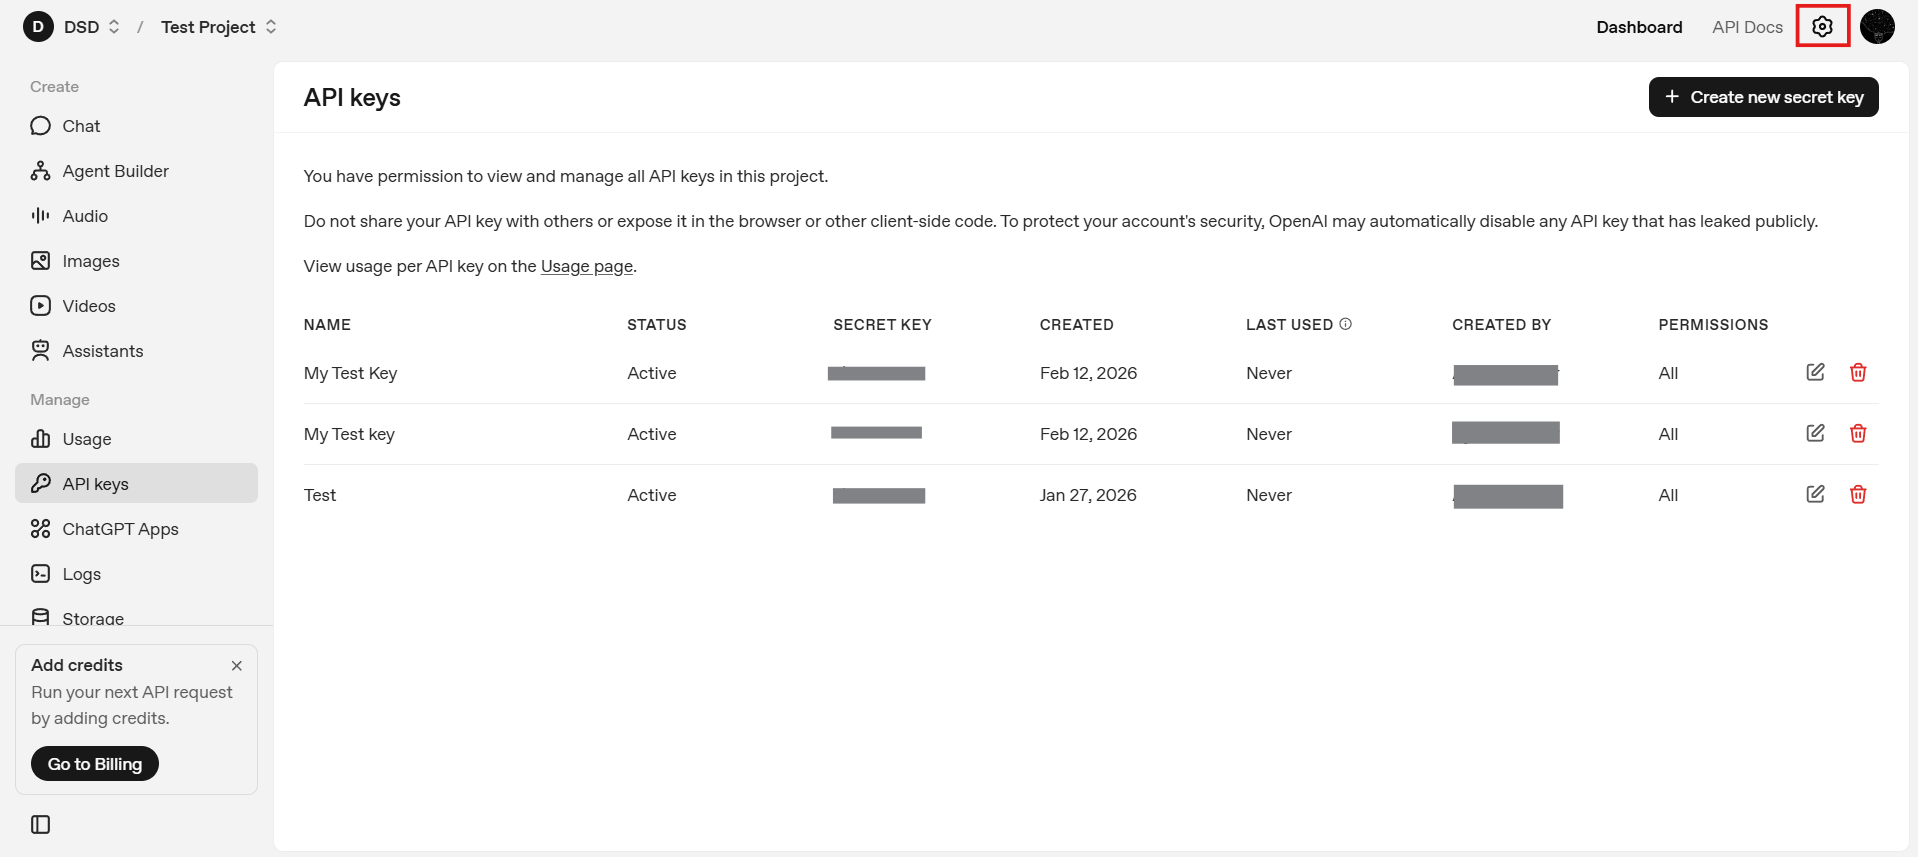
Step 5: Navigate to API Keys
Using the left-hand sidebar, select API Keys. This section lists all existing keys associated with the current project and allows you to create new ones.

Step 6: Creating a New Secret Key
Click Create new secret key. At this point, you will be asked to configure several properties of the key. These choices affect ownership, scope, and security.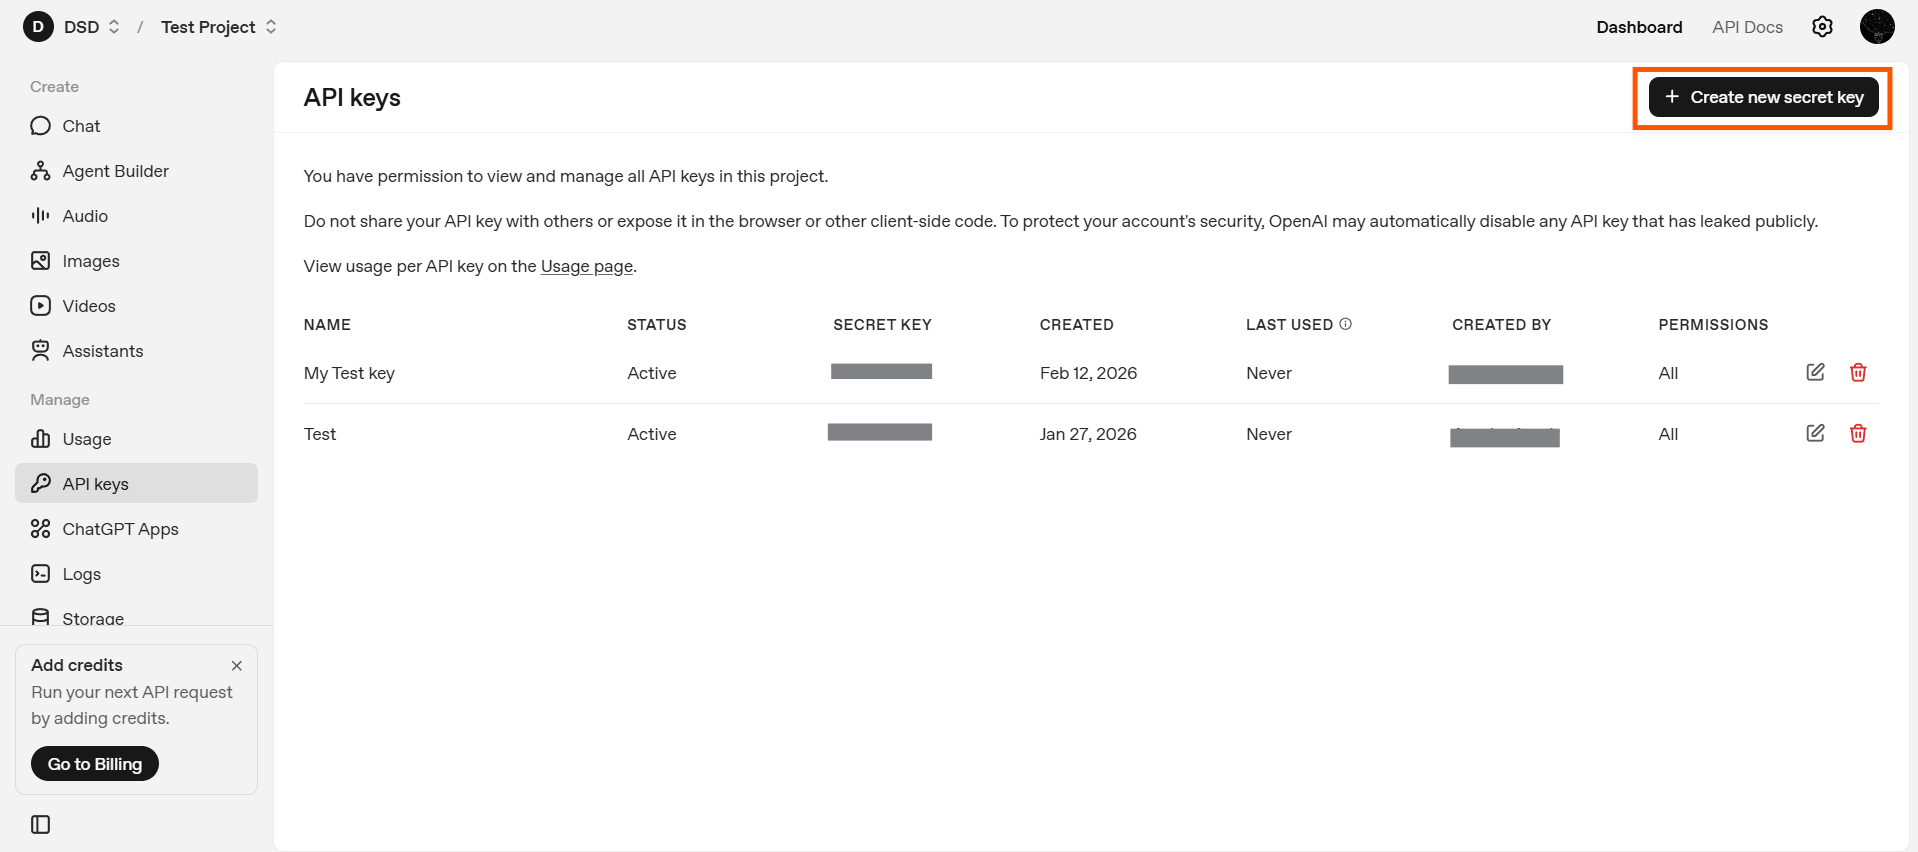
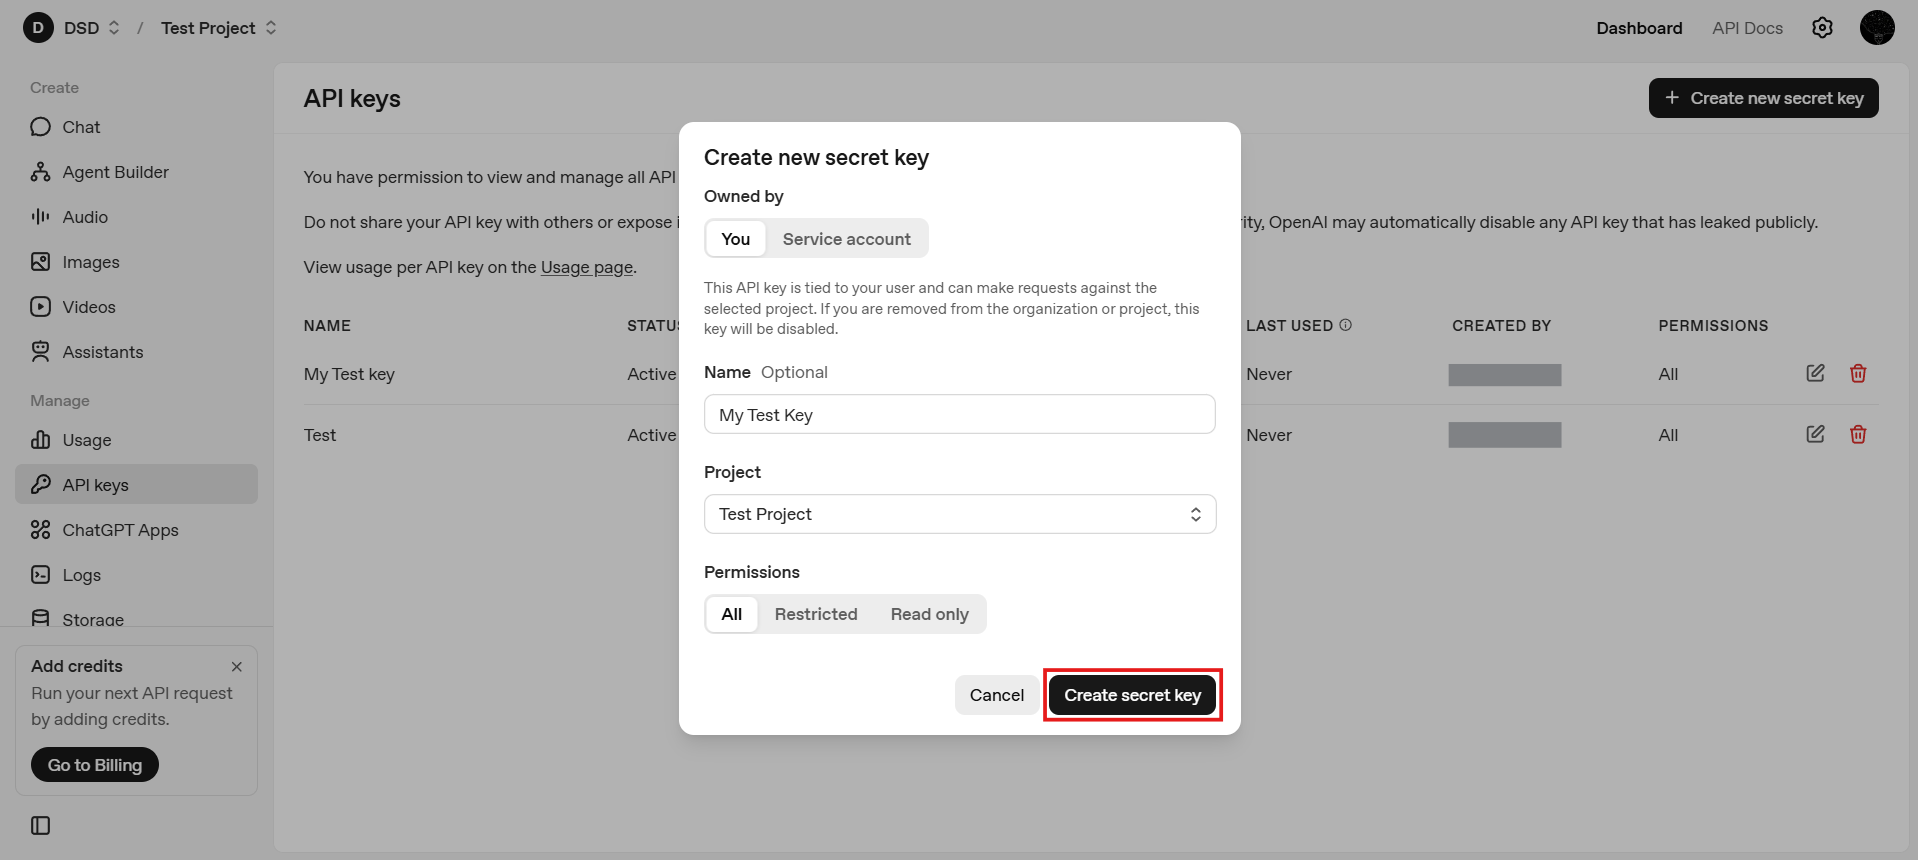
6.1: Choose Key Ownership ("You" vs. "Service Account")
When creating a key, OpenAI allows you to choose whether the key is owned by you or by a service account.
- Owned by You: These keys are tied directly to your user identity and are typically used for local development, testing, and experimentation. They are easier to manage for solo developers and personal projects where access control and infrastructure complexity are minimal.
- Service Account: Service account keys are not linked to an individual user session and are designed for production systems and automated workloads. They are better suited for shared infrastructure, backend services, and CI/CD pipelines, offering safer and more scalable credential management in team or enterprise environments.
In general, use "You" for testing, prototyping, and learning and use service accounts for deployed applications and production environments
6.2: Name the API Key
Give the key a descriptive name, such as: local-dev, backend-prod or staging-app. Clear naming becomes important as the number of keys grows and helps with auditing and rotation.
6.3: Choose the Project
Confirm which project the API key should belong to. In most cases, the default project is sufficient. If you manage multiple projects, ensure the key is associated with the correct one to avoid unexpected usage or billing issues.
6.4: Configure Permissions
OpenAI allows you to define permissions for each API key. Permissions control what the key is allowed to do, such as which APIs they key can access and whether it has full or restricted capabilities. As a general principle, apply least privilege: grant only the permissions necessary for the intended use case.
Once all of the options are configured, click Create Secret Key
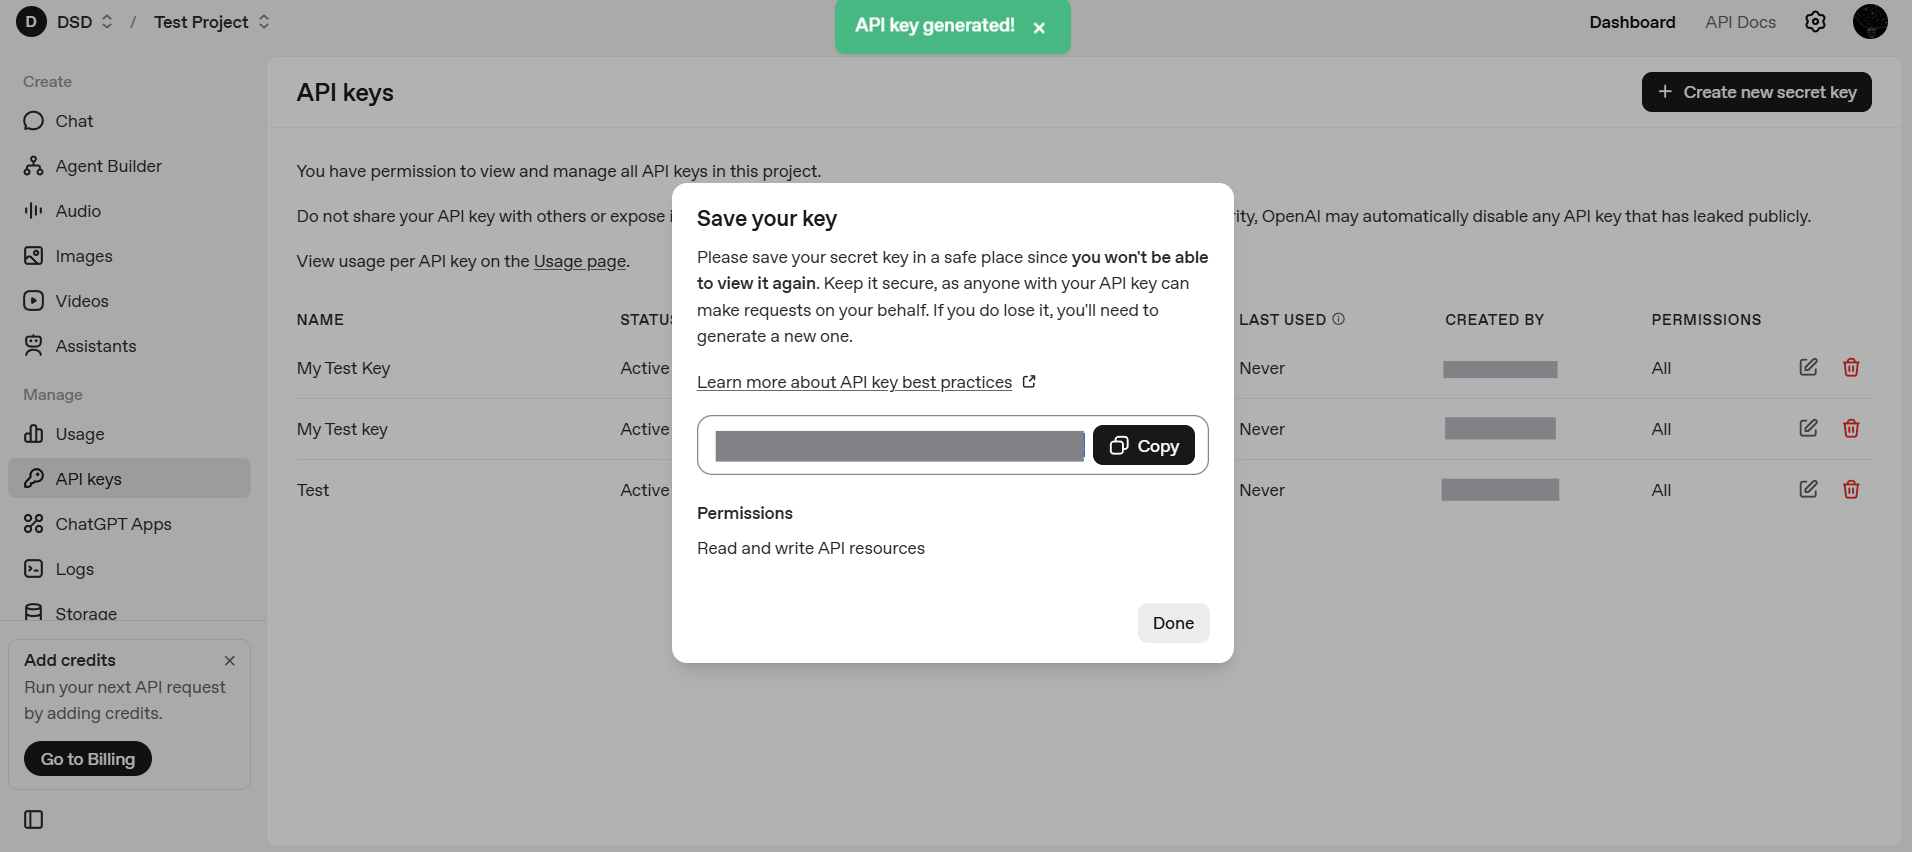
Step 7: Save and Copy the Secret Key
Once the key is created, OpenAI will display the secret value only once. Copy it immediately and store it securely. If you lose it, you will need to generate a new key.
Step 8: Configure Billing
After creating your API key, navigate to Settings → Billing.

To make API requests beyond limited free usage, you must add a valid payment method. Optionally configure spending limits or alerts.
Billing is tied to your account and projects, not to individual API keys, but without billing enabled your key may not function as expected.
What Capabilities Does an OpenAI API Key Unlock?
Once your API key is created and billing is configured, you gain access to a set of core AI primitives that can be used independently or combined to build more complex systems.
Text and Reasoning Models
Text-based models generate natural language responses, answer questions, explain concepts, perform multi-step reasoning, and follow structured instructions. From an API perspective, this operates as a simple request–response loop where text goes in and text comes out. Models such as gpt-5.2 and gpt-5.2-chat-latest serve as powerful general-purpose reasoning systems supported via the Responses API.
Code Generation and Code Understanding
The same models can work directly with source code by generating functions or scripts, explaining unfamiliar code, debugging errors, and refactoring logic. This capability underpins many developer tools, including IDE assistants and internal productivity systems.
Embeddings
Embeddings convert text into numerical vectors that capture semantic meaning. They enable semantic search, recommendation systems, document clustering, and retrieval-augmented generation (RAG). Models such as text-embedding-3-large and text-embedding-3-small are commonly used for high-quality semantic representations and form the foundation of memory-enabled AI systems.
Image Generation
Image generation models transform text descriptions into visuals for rapid prototyping, concept visualization, creative workflows, and marketing content. Through the API, image generation becomes a predictable and repeatable process, with models like gpt-image-1.5 supporting text-to-image creation directly within the OpenAI ecosystem.
Speech-to-Text
Speech-to-text models convert audio inputs into written text, making them useful for meeting transcription, video captioning, and voice-driven applications. From an API standpoint, they allow audio to function as a first-class data source within text-based AI workflows.
Text-to-Speech
Text-to-speech models convert written text into natural-sounding audio. This supports voice assistants, accessibility features, and audio-based learning platforms, enabling AI systems to deliver responses in spoken form across different devices and user contexts.
Multimodal Inputs
Some models support multiple input types simultaneously, such as text combined with images. This enables image analysis, document processing, and visual question answering, allowing developers to build systems that move beyond purely text-based interactions.
Core API Settings You Should Understand
Beyond choosing a capability, developers can control how models behave using request parameters. These settings significantly affect output quality, cost, and reliability.
Beyond choosing a capability, developers can control how models behave using request parameters. These settings directly influence output quality, cost, consistency, and reliability in production systems.
Model
The model parameter determines which model processes your request, and different models vary in latency, cost, reasoning depth, and modality support. Selecting the appropriate model is often the most important architectural decision, as it defines both system capability and performance constraints.
Temperature
The temperature parameter controls randomness in token selection. Lower values produce more deterministic and focused outputs, while higher values increase creativity and variation. For analytical, factual, or compliance-sensitive tasks, lower values are typically preferred.
Top-p (Nucleus Sampling)
The top_p parameter restricts token selection to the most probable subset of outcomes. It is generally used as an alternative to temperature rather than in combination, allowing developers to control diversity while maintaining probabilistic coherence.
Max Tokens
The max_tokens parameter sets the maximum length of the model’s response. This is essential for cost control, predictable output sizing, and preventing excessive generation. In production systems where responses are generated repeatedly at scale, explicit token limits help bound both behavior and operational expense.
Message Roles (System, User, Assistant)
In chat-style interactions, messages are structured by role. The system message sets behavior and constraints, the user provides prompts or queries, and the assistant represents model responses. This structure enables fine-grained control over tone, reasoning style, and task framing.
Frequency and Presence Penalties
The frequency_penalty discourages repeated tokens, while the presence_penalty encourages introducing new concepts. These controls are particularly useful for managing repetition in longer or more creative outputs.
Stop Sequences
Stop sequences define explicit termination points for generation. They are commonly used in structured outputs, multi-step pipelines, and tool-driven agent systems where predictable boundaries are required.
For the most up-to-date and complete description of request parameters, message formats, and response schemas, refer to the official OpenAI API documentation.
This reference is especially useful when implementing advanced configurations or validating parameter behavior against the latest API changes.
Security and Best Practices
Because API keys grant direct access to billable resources, proper handling is critical. Best practices include storing API keys in environment variables rather than hardcoding them, never exposing keys in client-side code where they can be accessed publicly, rotating keys periodically to reduce long-term risk, and actively monitoring usage while setting spending limits to prevent unexpected costs or misuse.
What Comes Next
With an OpenAI API key created and billing configured, your setup is complete. You now have everything required to interact with OpenAI’s models programmatically.
From here, the focus shifts from configuration to usage: securely storing the key, making authenticated requests, and experimenting with different models and capabilities as you begin building real applications on top of the OpenAI platform.